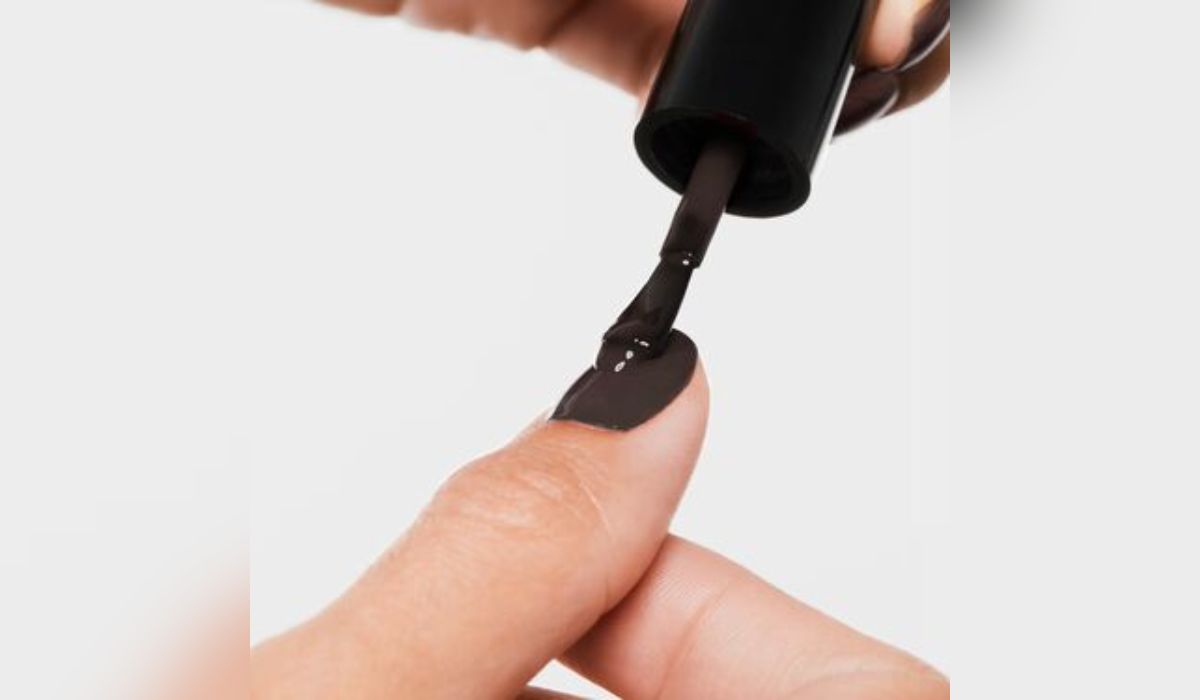
Say goodbye to gloopy, sticky nail polish woes with our quick-fix solution that’ll have your nails looking fresh and fabulous in a few minutes. It happens so many times that the nail-paints you own become thick and become a mainstay in your vanity. For this very reason, we have discovered foolproof ways to keep nail polish thin and clump-free. Even premium nail polishes can turn sticky and thick, a frustrating problem that affects formulas at every price point.
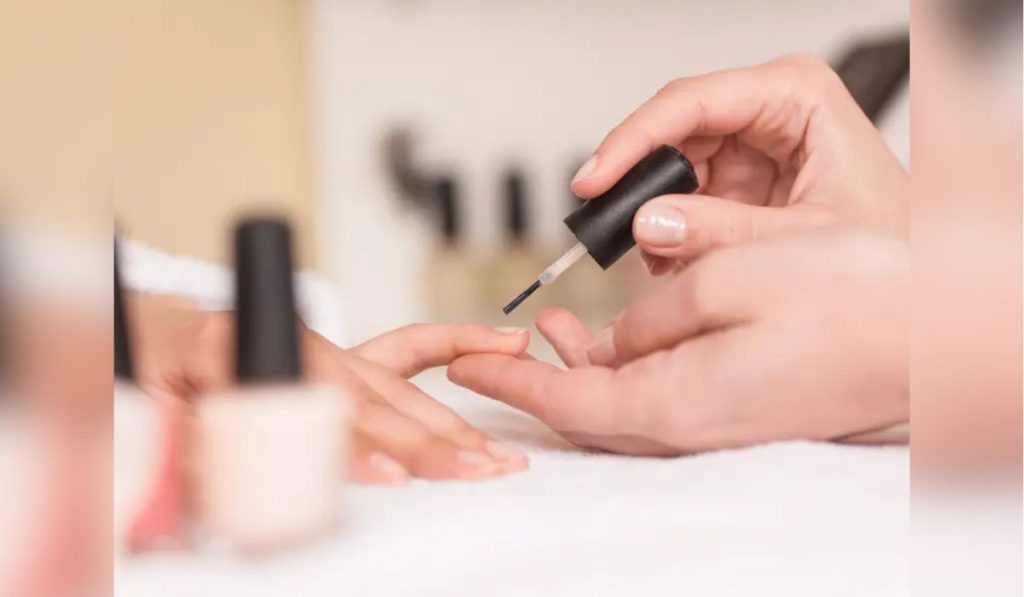
After applying, thick nail polish looks uneven. The key point here is to find a practical fix without completely wasting the nail polish. Fortunately, there are certain tried and tested techniques to help you restore your favourite thick nail polish. Most of them might not be perfect, but they are surely workable to let you use your favorite shades. Keep these tips and tricks in mind whenever you are faced with thick polish problems next time. Certainly, the best method is to care for polishes is by preventing this problem primarily.
9 Ways To Salvage Thick, Dried Up Nail Polish
If your nail polish has gotten thick and sloppy and is hard to apply on nails, we will tell you all the great fixes. Be it shimmer, metallic, gel or regular nail polish, you can resuscitate the natural consistency of the polish by using either of these 9 tricks.
Nail Polish Thinner
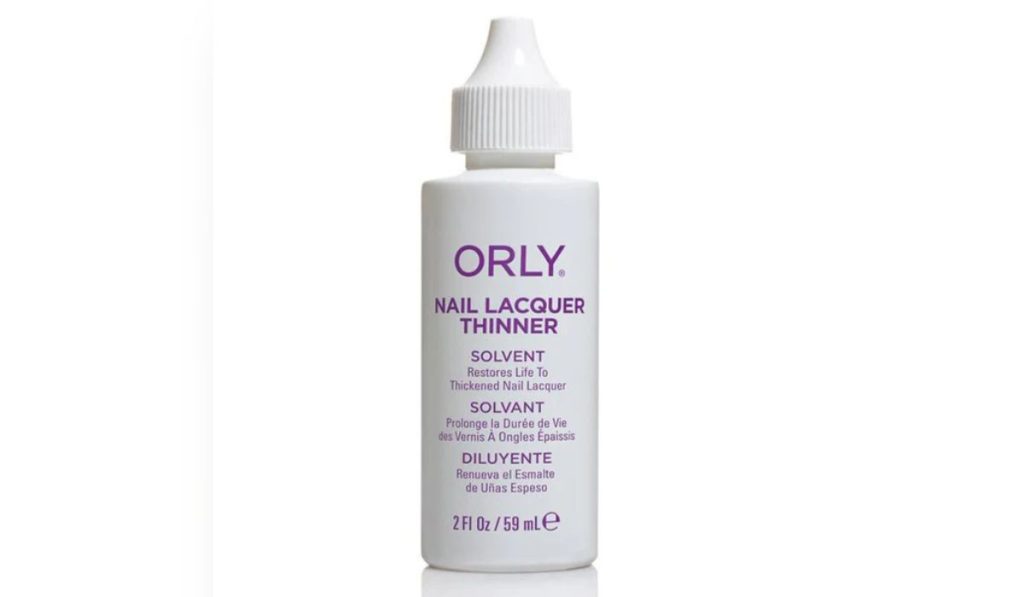
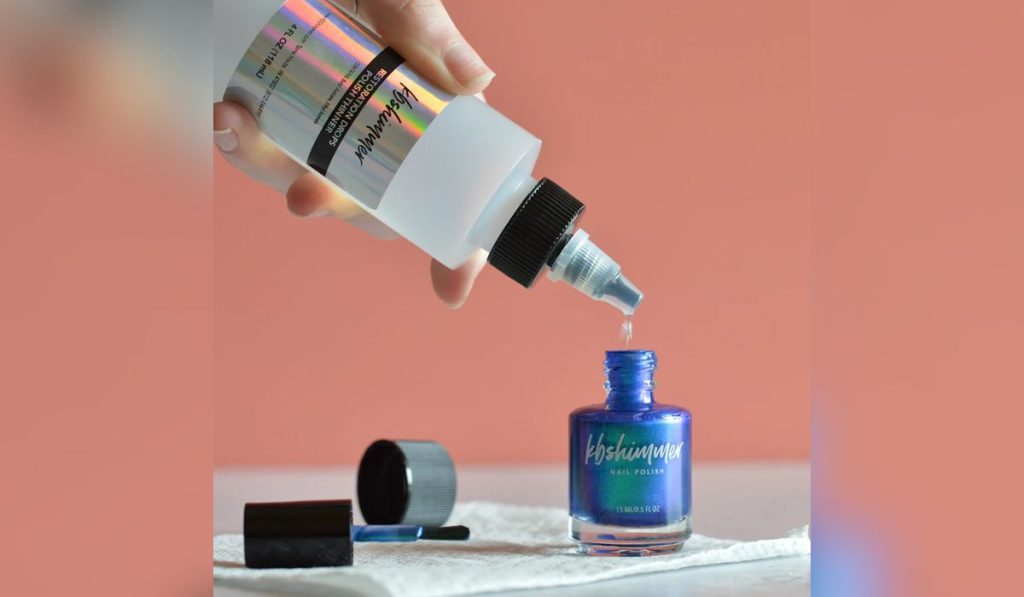
Actually, this first method is still recognized as the best foolproof way to restore nail polish that has gone thick. You can reinstate its original consistency without damaging the product. Usually, most nail polish brands sell their own thinners. So if possible, you should choose one of those.
First, add a few drops of thinner directly to the nail polish. Then, roll the nail polish bottle between your palms to mix it. Avoid shaking it vigorously, as this may create air bubbles in the bottle and affect its consistency.
Test the nail polish on your nails. If it still doesn’t feel right, add another drop of the thinner. However, remember not to add an excessive amount. The nail polish can become too thin, and you might not be able to thicken it again for the second time.
Nail Polish Remover Or Pure Acetone
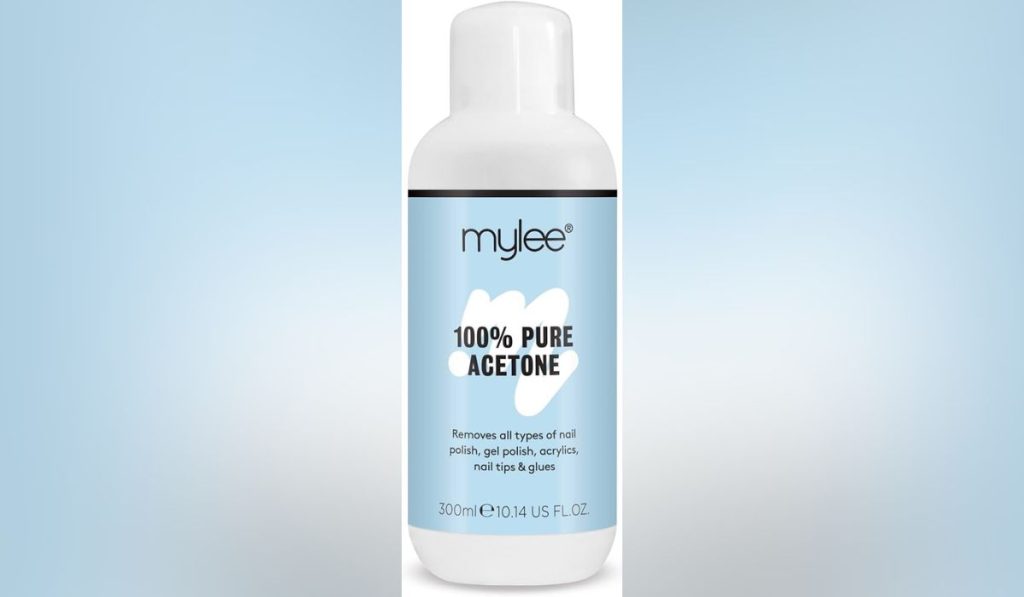
For a reliable thinning solution, reach for a nail polish remover that’s infused with acetone. Just adding a drop of acetone to the nail polish as a thinner can help you bring back its texture. Make sure you follow the “less is more” approach to avoid using too much acetone, which can break down the nail polish. This is a major reason why polish bottles have a short lifespan.
Mix Nail Polish
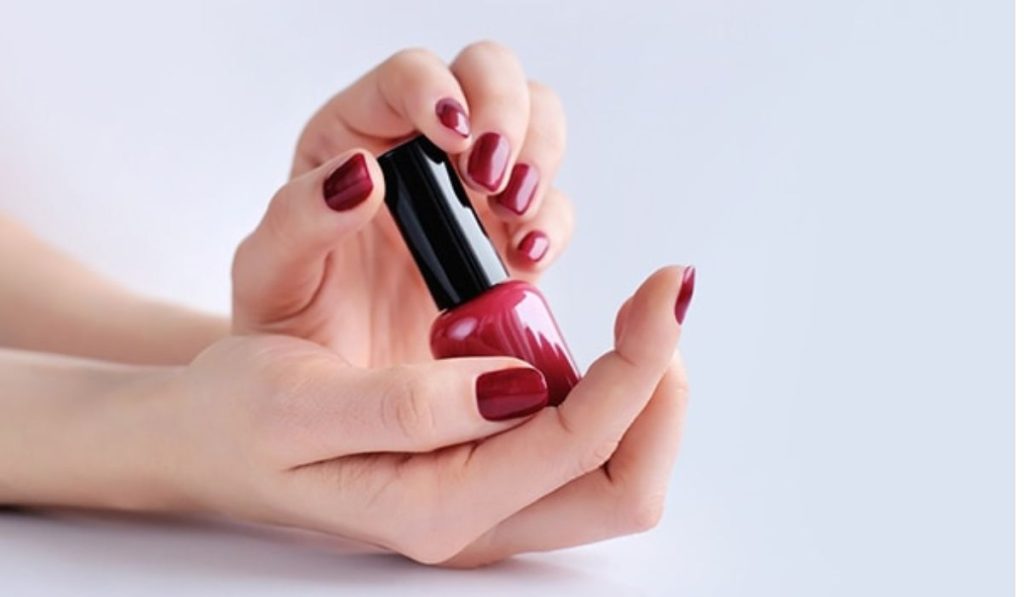
Mixing nail polish gently can help if the polish has started to thicken recently and has thickened a little bit. Before you turn the bottle upside down, make sure it is properly sealed. Next, roll it between your hands for a couple of minutes.
This helps to warm up the polish, which will eventually thin it out. Consider not shaking the bottle, as we have mentioned before, shaking isn’t good because it creates air bubbles, causing the nail polish to chip off easily. Additionally, this can make the polish too thick, so proceed at your own risk.
Hot Water
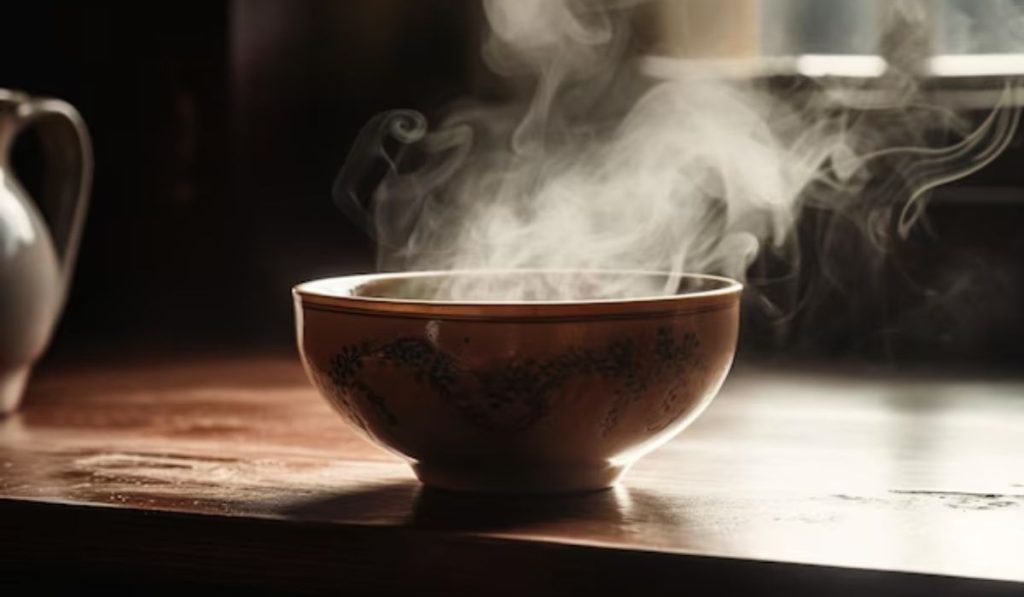
If warming up the nail polish bottle with acetone or thinner didn’t do the job, hot water is an excellent method. All you need to do is heat the polish by placing it under the hot water. Though temporary, it will thin out the thick polish.
However, a great way to carry out this hot water method is to pour enough hot water into a bowl and leave the bottle of polish in it for 2 to 5 minutes. Then, take out the bottle carefully as it can be too hot, so handle with caution. Lastly, you just need to roll the polish to and fro in your hands to mix the polish inside.
Store Nail Polish In A Dark, Cool, Dry Place
Although the above nail polish thinners, acetone, and hot water are all effective ways, they come with some problems too. Except for hot water, the rest are go-to options in salons for quick results, but as quick as they are, they are harmful too.
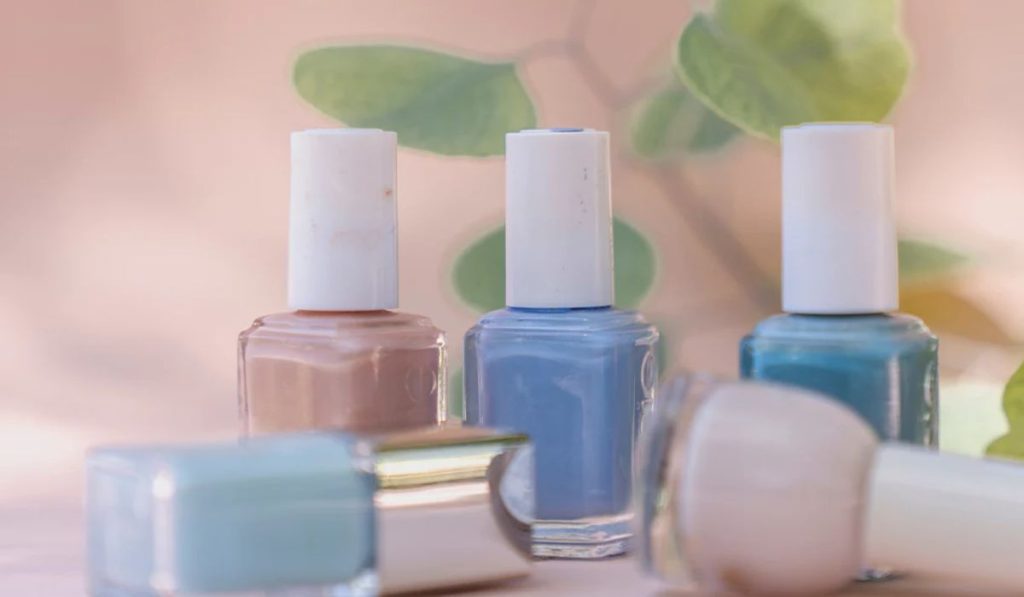
They might make your nails brittle, peeled, split, and broken. In the long run, they might do more harm than good. To prevent the nail polish from clumping up, firstly, the hack is to store the polish in a dark, cool place. This helps in maintaining temperature’s consistency. You can even try keeping it in the refrigerator if you live in or around a hot tropical area.
Alcohol
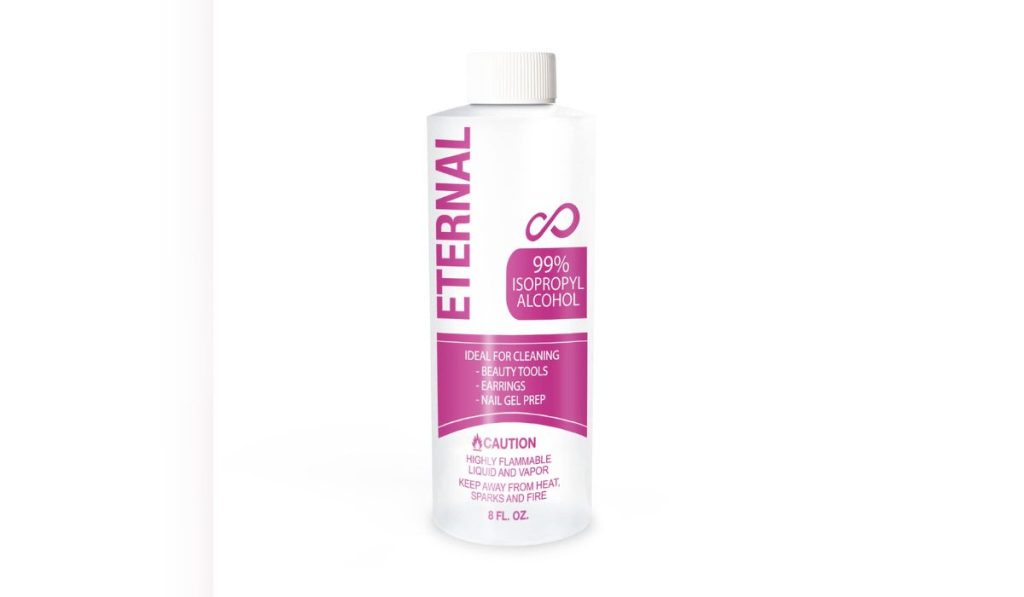
Thinning nail polish with alcohol is the most feasible way. However, you can by no means use any alcohol that may be in your house. The solvent isopropyl alcohol, also known as ethyl acetate, is commonly used in nail polishes. When polish becomes clumpy, you can replace its solvent with this alcohol. If you are wondering how to do it to make the nail polish last longer, here’s how.
Use an eyedropper, add 2 drops of isopropyl alcohol to the polish. Roll the polish between your hands and check its consistency. If necessary, add another drop. Allow the polish to set for 20 minutes before applying it to your nails.
Tightly Seal Your Nail Polish
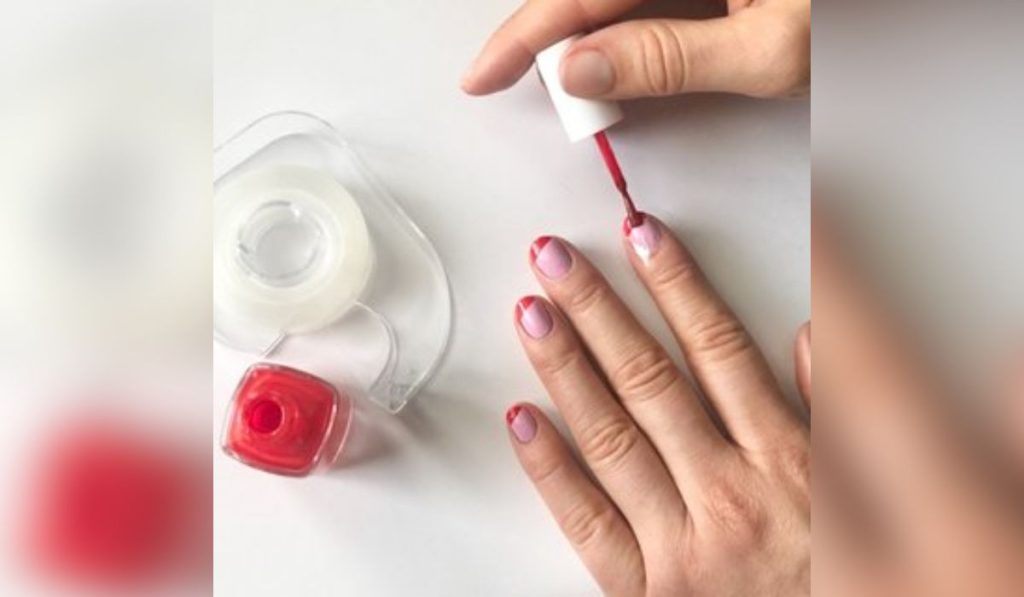
It’s a common mistake that people forget tightly sealing the nail polish bottle. But it is one of the best ways to keep nail polish thin and spread effortlessly. To prevent your nail polish from thickening, it’s crucial to seal it tightly whenever you’re not using it.
Preserve your nail polish for a longer period just by closing the bottle cap between coatings. As soon as air hits the product inside, it starts thickening.
Track The Time Of Purchase
While you may temporarily thin out your nail polish with acetone or thinners to extend its longevity, eventually you will have to say goodbye to it. It’s best to dispose of the ones that have become too viscous. Just like makeup, nail polishes also have a shelf life. To keep track of when you purchased the nail polish, label the bottle with the date of purchase.
Don’t Shake Up, Just Roll
As tempting as it might be, avoid shaking any nail polish bottle at all. Instead of hearing a small metal ball rattle in the polish, roll it up. Shaking causes the nail polish to stick to the topmost part of the bottle, making the mess hardened and sticky. Also, it leads to the formation of air bubbles, ruining all your future beautiful manicures.
What Are The Signs That My Nail Polish Needs To Be Thinned?
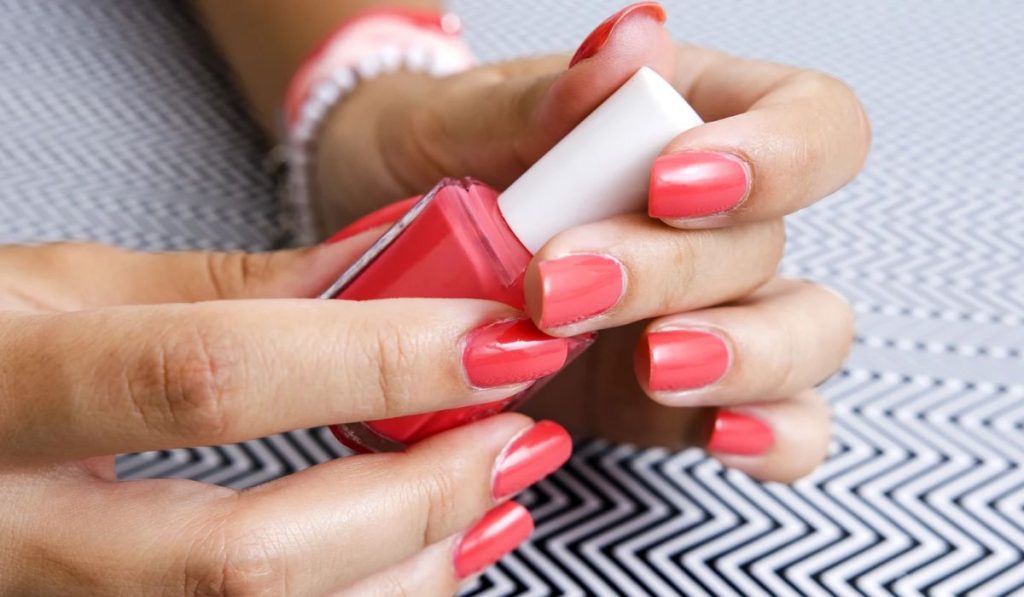
Ever thought that your nail polish would need a makeover too? Indeed, it requires a makeover so that you don’t waste it by throwing it out without finishing it. If you’re trying to figure out whether your nail polish requires thinning, look out for these signs.
- Once previously smooth nail polish starts becoming tacky or syrupy, that’s when it needs a revival.
- When your nail polish doesn’t cooperate, leaving uneven clumps or streaks while applying, it’s a clear sign for restoration.
- At times, when the thick and goopy nail polish isn’t dripping smoothly from the brush, it is a clear indication that the nail polish needs thinning.
Don’t fret if you find any of these signs or notice all of them. Your bottle just needs to be thinned out and nothing else. It’s time to bring it back to life. Your beloved nail polish will be restored to much like its original state, giving a salon-like performance and quality.
Things To Know Before The Fix
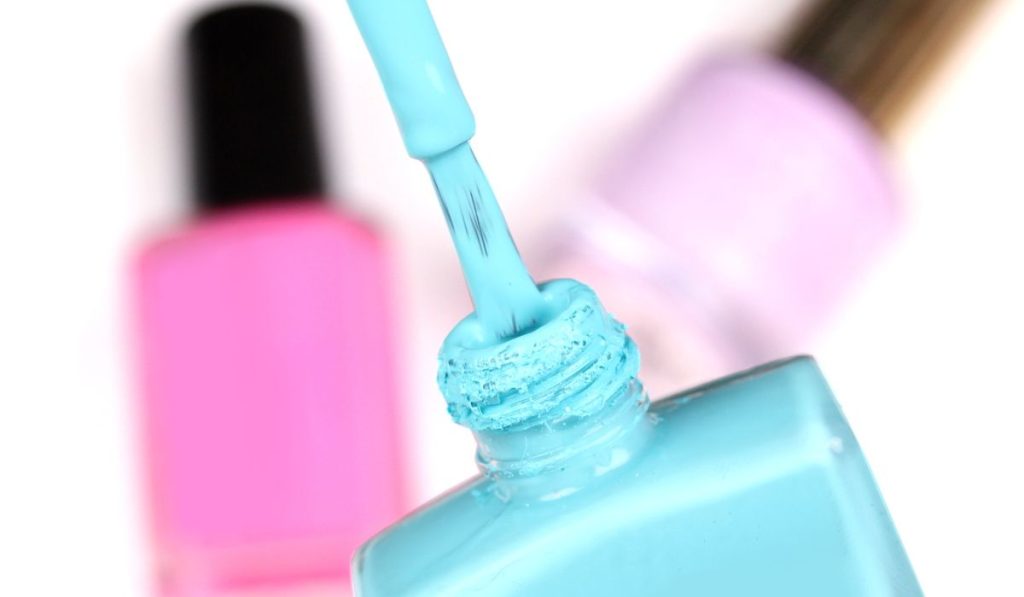
Begin with the option that would be the easiest according to you. Then, advance through each method, finishing the process of fixing with a good quality thinner unless you know what works best for your polish. You have invested in your nail polish, and no matter what, you can’t throw it away. And it’s worth your effort to restore the polish and do your best for it. Just keep a few things in mind while sitting in your workspace to fix it like a pro.
Some nail polishes become thick and chunky from the start, such as certain pastels and heavy glitters. This has to do with the nature of the pigment. Don’t blame the nail polish or the manufacturer for these bottles.
Give some time to achieve a smooth finish with our tips and use any of the above-mentioned thinning methods to make the application easier and less stressful. Here’s to an even consistency, a smoother finish, and long-lasting nail polishes. It’s all about caring right for your investment.
Best Thinning Practices For Nail Polish
It can be tough to assess the nail polish consistency after thinning it because you can’t determine what exactly you need to look for. Those who have expertise in the nail industry know what it is like. If you have no experience dealing with nail polishes, read our tips and best practices regarding checking consistency. The consistency has to be smooth and easy to work with. Below are 3 best practices for thinning nail polish.
The Drip Test
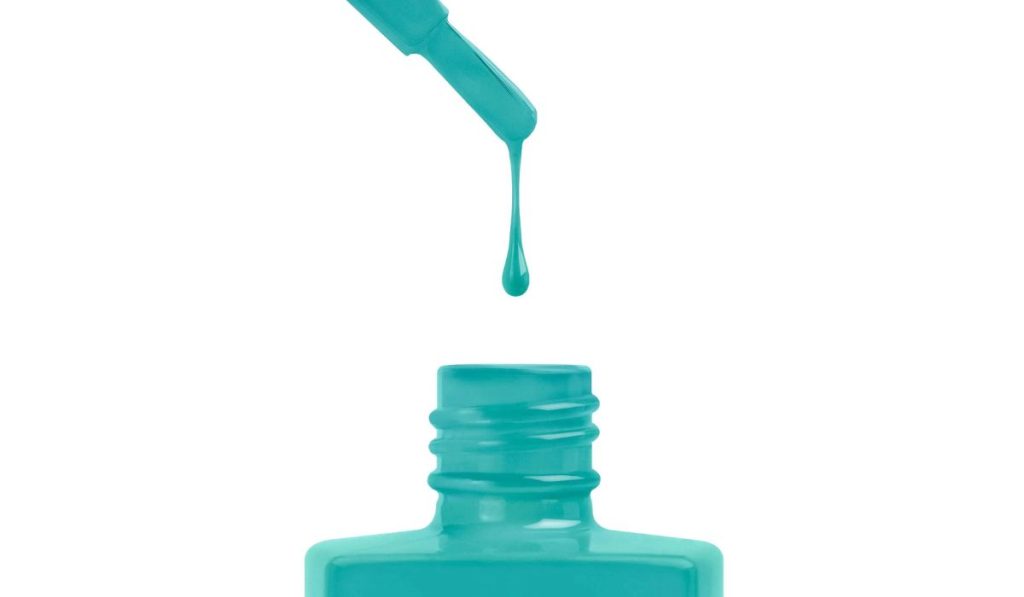
Hold the brush of the nail polish above it and let a little nail polish drop back into the bottle. After the drop falls and merges seamlessly with the nail polish present in the bottle, know that it’s the perfect consistency. The nail polish should flow easily and evenly around the brush without forming any strings or clumps.
The Glide Of Brush
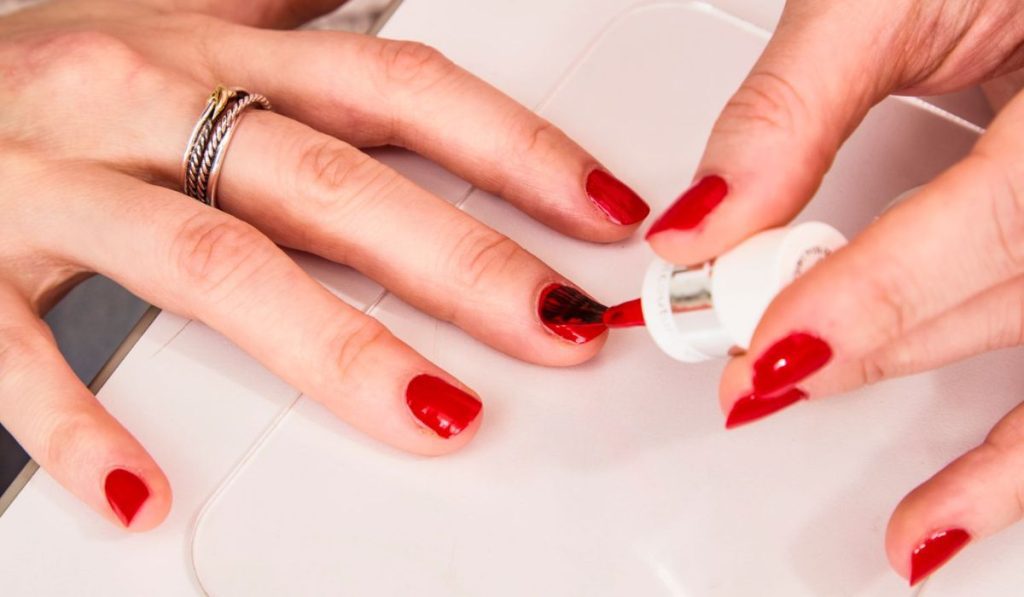
For testing purposes, apply a thin layer of nail polish to a nail. This is to check the consistency, which needs to glide smoothly over your nail without any clumps, bumps, or streaks. It must smooth out evenly for a flawless finish.
The Dry Time
Give your test nail some time to dry fully. If the nail polish is taking a long time to dry, it’s due to its thick consistency. However, a good thinned polish will take less time and dry out evenly without leaving bumpy smudges or patches.
Conclusion
Keep your nail polishes maintained to continue using your favorite shades for a long time. To maintain them, you need to thin them out. This way, you can keep them in pristine condition for many years. To ensure that your nail polishes stay in perfect condition, check them every week for thickening.
If you notice the first sign of them becoming clumpy, don’t worry. Trust our thinning methods to quickly thin them out in seconds. Thinning out your nail polish bottles means you are contributing to a sustainable cosmetic world. Extending the lifespan of your nail polishes is not just about appearance; it is about reducing waste and choosing eco-friendly options.


