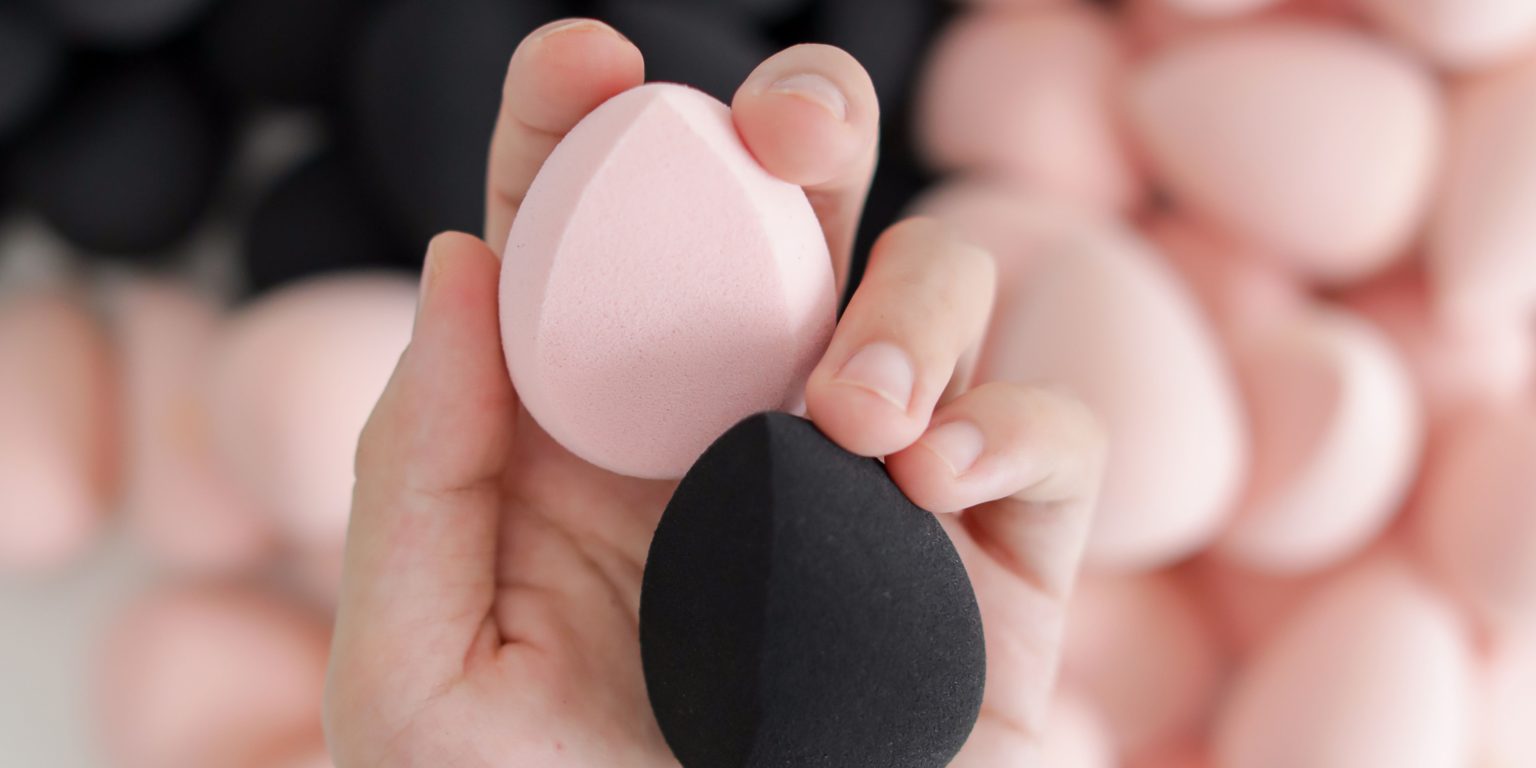
A good makeup sponge can make a difference between uneven makeup and flawless makeup. That is why it is important to invest in the right beauty products. You should always do thorough research before purchasing any makeup sponges and blenders. But that’s not all. You need to clean these sponges on a regular basis to extend their life and prevent bacteria from developing.
This article will cover several methods to thoroughly clean makeup sponges. These methods will help in the removal of difficult stains. We will also discuss when it is appropriate to replace them. Using these methods will not only guarantee a good skin-care routine. Yet, it will also help you with getting consistent, attractive beauty results.
How Often Should You Clean Your Makeup Sponges?
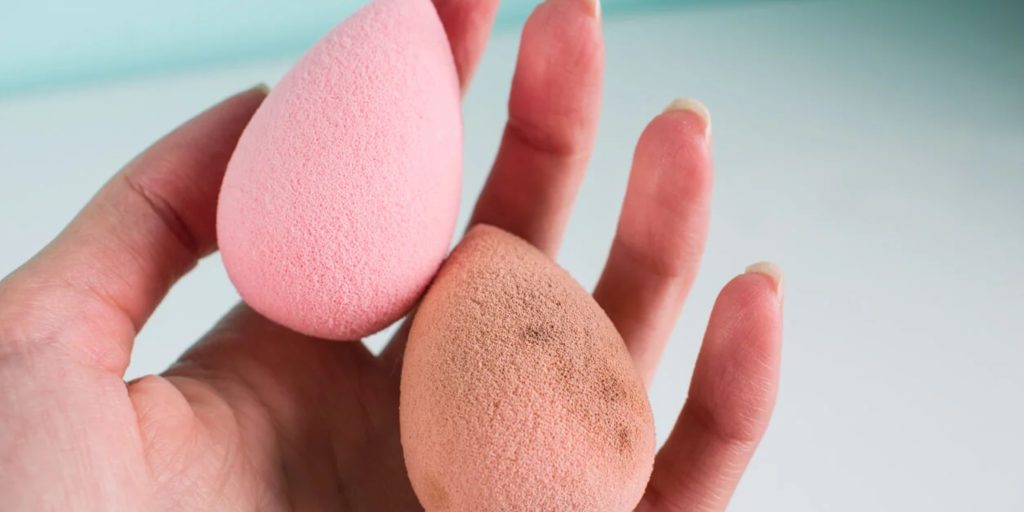
You should always wash your makeup sponges after usage. Frequent cleaning is the most effective strategy to prevent bacteria from forming in the initial instance. If you don’t have time to wash your cosmetic sponges every day, you should clean them at least once a week if you use the same sponge every day. We collected fast and easy methods to make the process less of a burden.
7 Ways To Clean Makeup Sponges
Method 1: Use soap to wash your makeup sponge
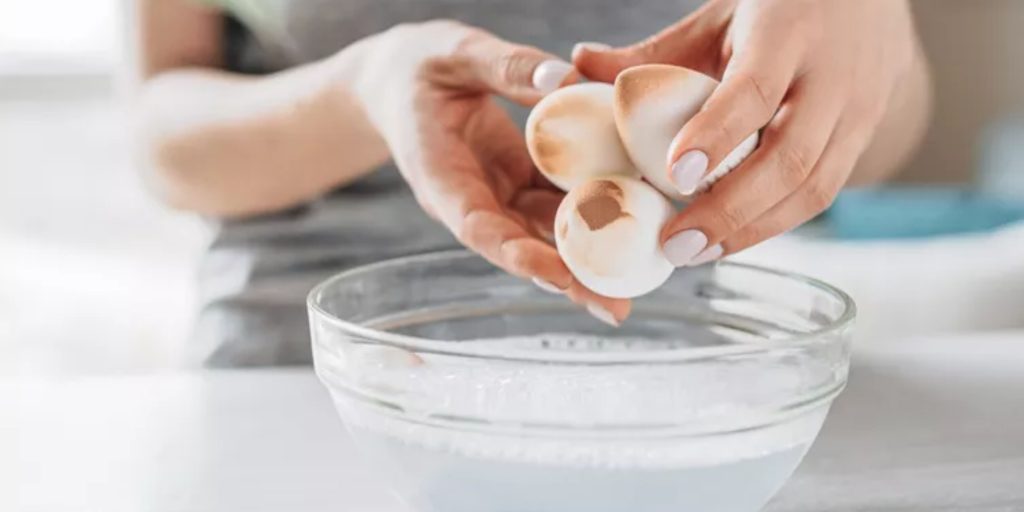
This is possibly the most frequent method of cleaning your makeup sponge because it involves the least amount of work and resources.
Step 1: Get yourself a vessel of warm water
Fill a small vessel halfway with warm water and completely soak your sponge in it. The more wet it becomes, the more it expands and becomes easier to clean.
Step 2: Pour in the soap
Drizzle normal soap over your makeup sponge and rub it to remove any extra product.
Tip: Dishwashing soap can also be used. The solution contains a substance called a degreaser that helps in the breakdown of makeup residue.
Step 3: Rinse
Squeeze the dirty water from your sponge and rinse it with clean water until all of the makeup and soap comes out. Squeeze off the extra water and put it flat to dry. And you are done in 60 seconds.
Step 4: Dry
When you’re done, pour out your solution and squeeze your sponge thoroughly to get rid of any water. Let it air-dry, and you’re good to go.
Method 2: Wash your makeup sponge in the washing machine
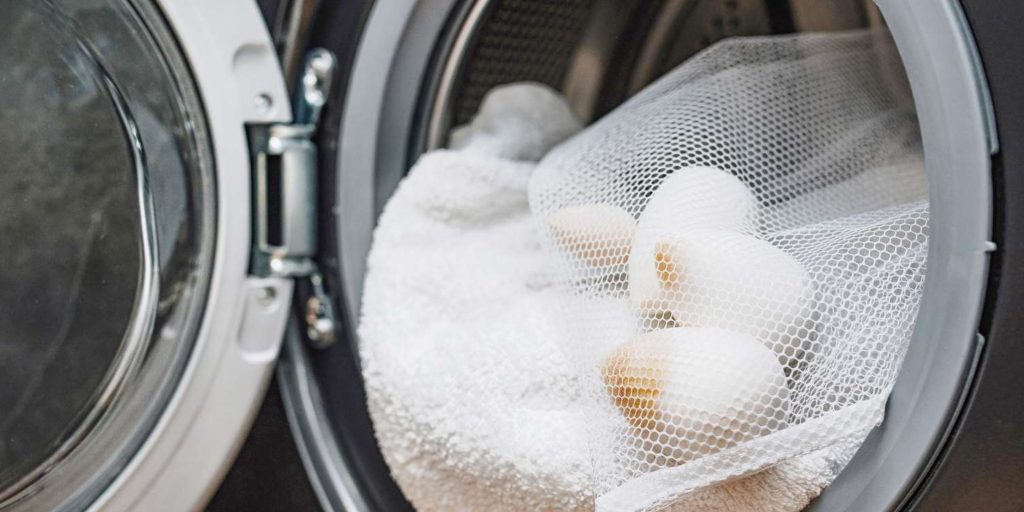
This method is ideal for growing makeup artists or those of us who have a large collection of sponges. Putting them in the washing machine makes it very simple for you; all you need are enough sponges to make it worthwhile.
Step 1: Gather the things you have
Gather all of your sponges and place them in a net garment bag. Place the bag of laundry in an empty washing machine.
Step 2: Start the washing machine
Before going or running the washing machine on mild with an extra rinse cycle, use a mixture of Beauty Blender liquid cleanser and laundry detergent for better results. After washing, remove them from the washing and place them in a bag to air dry.
Method 3: Microwave your makeup sponge to clean it
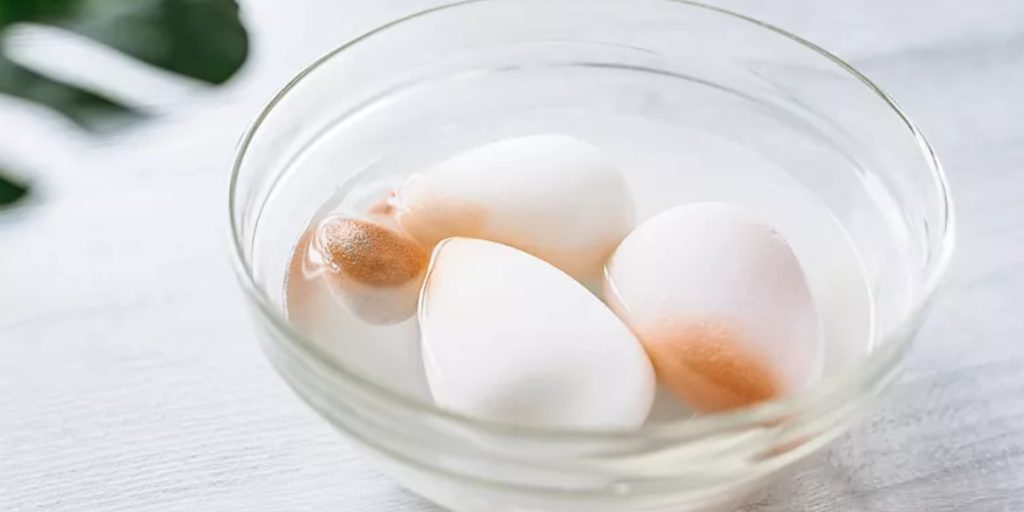
If you want to take additional precautions against bacteria without using a washing machine, use the microwave method. You’ll wind up with a melted mess if you simply chuck it in there, so follow the procedures below.
Step 1: Combine the soap and water
Combine water and some soap in a microwave-safe cup. There is no need for precise measurements. Only ensure that the makeup sponge can be completely soaked. Wet your sponge in clean water before dipping it into the soap mixture. You can also add a few drops of olive oil for additional cleanliness.
Step 2: Warm the microwave
Microwave the cup for about a minute, then set it aside to cool before grabbing it. The liquid should be full of foundation, and your sponge should be clean.
Step 3: Squeeze and rinse
Before squeezing off any makeup leftovers, give it one last rinse under clean running water. Allow to air dry.
Method 4: Use Micellar Water to clean makeup sponges
Some stains will not come out, no matter what you do. This is where the micellar technique comes to help. Since it not only removes makeup but also takes stains right off your sponge.
Step 1: Massage with micellar water
To remove stubborn makeup stains. Soak your Makeup Sponge in makeup remover with cleansing water. Massage it to ensure that the formula reaches each and every corner.
Step 2: Do a double cleanse
Micellar technology is excellent for removing makeup stains, but it doesn’t kill microorganisms. To obtain a completely clean sponge, use dishwashing or antibacterial soap twice.
Step 3: Rinse
When all makeup stains and germs have been removed, rinse your sponge with clean water and leave it away to dry.
Method 5: Use a cleansing pad to clean your makeup sponge
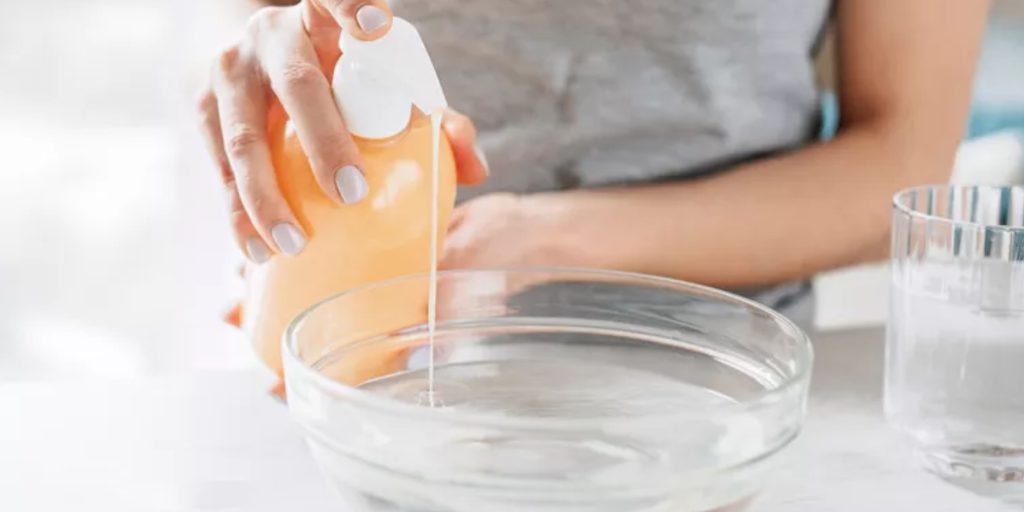
Cleansing pads are really handy products that could push you to clean your makeup sponges more frequently. They are not only inexpensive, but they are also quite simple for users to use.
Step 1: Pour in the soap
Drizzle some soap onto your Prism sponge and rub it in to cover everything.
Step 2: Make use of your cleansing pad
To remove tough spots and stains, rub your sponge across the bristles of your cleansing pad. For a deeper clean, add extra soap as needed.
Step 3: Rinse thoroughly
Before allowing your sponge to dry, run it under water to clean it.
Method 6: Use oil to clean your makeup sponge
Step 1: Rub the oil into the sponge
Begin with a dry sponge and rub a few drops of oil (coconut oil is a great choice) into it until the makeup begins to come off.
Step 2: Soak it in soapy water
Soak in a cup of soapy water. This is the second step of the double cleanse, and it will not only remove any left-over traces of makeup but will also help rinse away the oily residue.
Step 3: Take off, rinse, and dry
Allow it to dry fully and completely in a well-ventilated room. Then, place it up on air to get dry.
Method 7: Soak a cosmetic sponge in water to clean it
If you have a keen eye for detail and a few blemishes on a makeup sponge, it will destroy your soul. Furthermore, use the double-cleansing method. Soak your sponge with liquid cleaner, then gently scrub with bar soap to get rid of any remaining muck.
Step 1: Soak
Squeeze a few drops of liquid cleanser into a small container of warm water, then squeeze or immerse your dirty sponge in the soapy solution. Allow it to soak for 5 minutes.
Step 2: Scrub
Rub your sponge into the soap bar in order to remove stains and build-up. Once you’ve got a lather, brush the soap further into the sponge with your fingertips.
Step 3: Rinse
When the sponge begins to flow old makeup, start rinsing it with clean water. Give it a few squeezes to get rid of all the soap. Place aside to dry.
When Should You Replace Your Beauty Blender?
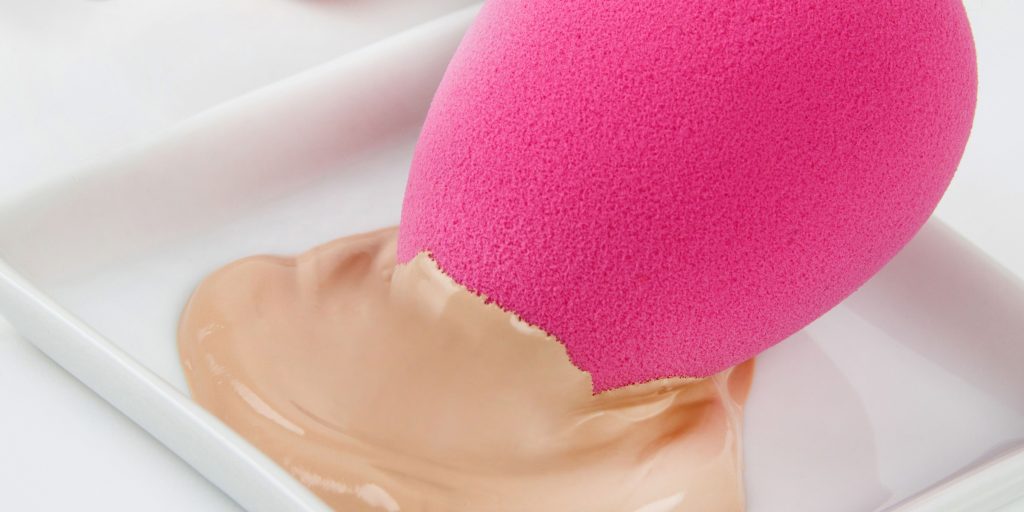
This is extremely important to replace the makeup sponge or beauty blender. While it is necessary to wash your sponge once a week. It is also important to replace it after 3 to 4 months of regular usage. Regardless of how clean you keep it. Makeup sponges are soft, fragile, and prone to use and tear over time, so change them on a regular basis.
Also, allow your beauty sponges to air dry before putting them in your makeup bags. A moist beauty sponge can become a breeding ground for bacteria. Because surely this is not something you want on your face.
FAQs [Frequently Asked Questions]
Q: Why is it important to clean makeup sponges on a regular basis?
A: Cleaning your makeup sponges on a regular basis. It is important for reducing the development of germs, oil, and makeup residue. This helps to keep your tools clean and provides a perfect makeup application. It also increases the life of your sponges.
Q: How frequently should I wash my makeup sponges?
A: It depends on how frequently you use them. It is advised that you should clean your makeup sponges after each use or at least once a week. If you apply or wear heavy or oil-based makeup, you will need to clean more frequently.
Q: What do I need to clean makeup sponges properly?
A: To properly clean makeup sponges. Use mild soap, lukewarm or warm water, and a clean towel. For a more thorough clean, use specially designed sponge cleaners.
Q: Can makeup sponges be washed in the washing machine?
A: Cleaning makeup sponges in a washing machine is not recommended since the vibration might harm them. Handwashing is a more delicate and effective way. But if you have it in bulk, you can wash it in a washing machine.
Q: What should I do with my clean makeup sponges?
A: Allow your makeup sponges to air dry thoroughly in a clean, well-ventilated place after washing. Avoid keeping them in tightly sealed containers or humid conditions since this might encourage bacterial development.
Q: How frequently should I replace my makeup sponge?
A: Replace your makeup sponge every 2-3 months or when it starts showing signs of tearing off the makeup sponge, such as crumbling, ripping, or a significant change in texture. Cleaning your sponge on a regular basis could make it last longer.
Final Words
Clean your makeup sponges on a regular basis with mild soap and warm water. And you can use any of the above-mentioned methods to clean your makeup sponge. It is also important to ensure appropriate drying and to replace them every 2-3 months for both hygiene and good makeup application. By following these easy measures, you can improve the life of your sponges and promote healthier, more beautiful skin.


